EN
EN


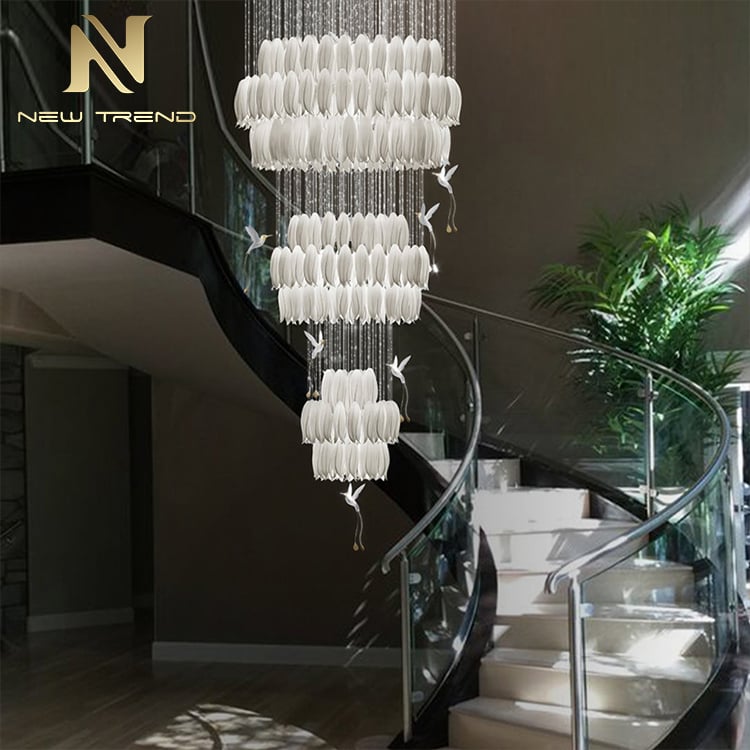
Баспалдақ ілмелі жарықтандырғыштары — үйдің вертикаль кеңістігін аяқтаудың ең әсерлі элементтерінің бірі. Олар баспалдақ аралығының көрінісін тез жақсартады және күндізгі қозғалысты қауіпсіз ету үшін әрбір басқышты жарықтандырады.
Бірақ көптеген үй иелері жиі жасайтын ортақ дизайн қатесі мынадай: тәжірибелі пропорцияларға қарағанда көрінісін басымдыққа алу. Өте үлкен жарықтандырғыштар жүру жолын тарылтады және соқтығысу қаупін туғызады, ал өте кішкентай жарықтандырғыштар — орынсыз көрінеді және баспалдақтарды дұрыс жарықтандыра алмайды.
Жетілген баспалдақ жарықтандыруының сыры — қауіпсіздікті, қызметті және стильді тепе-теңдікте ұстайтын индивидуалды өлшемдеуде жатыр. Баспалдақ аралығы дизайндарының сәтті және сәтсіз мысалдарын жылдар бойы бақылағаннан кейін мен баспалдақ жарықтандырғыштары үшін негізгі индивидуалды өлшемдеу ережелерін жинақтадым. Бүгін мен сізге баспалдақ ілмелі жарықтандырғыштары үшін идеалды диаметрді, енін және ілу биіктігін қалай дәл анықтауға болатынын түсіндіремін — болжамдарсыз, тек практикалық және үй иелеріне ыңғайлы нұсқаулар.
✨Негізгі принцип: Қауіпсіздік бірінші орында
Барлық басқыштағы жарықтандырғыштарды тәжірибелік түрде реттеу үшін алдымен шартсыз, өзгертуге болмайтын алтын ережеге көңіл бөрейік.
Барлық өлшемдеу логикасы бір қарапайым стандартқа негізделеді: басқышта тұрған ересек адам қолын созғанда жарықтандырғышқа жетпеуі керек.
Бұл ереже кездейсоқ соқтығысулар мен басқа соқтығысуларды толығымен жояды және басқыш аймағындағы вертикаль жүру жолын толығымен бос ұстайды. Төмендегі барлық өлшемдік стандарттар осы негізгі принципке негізделген.
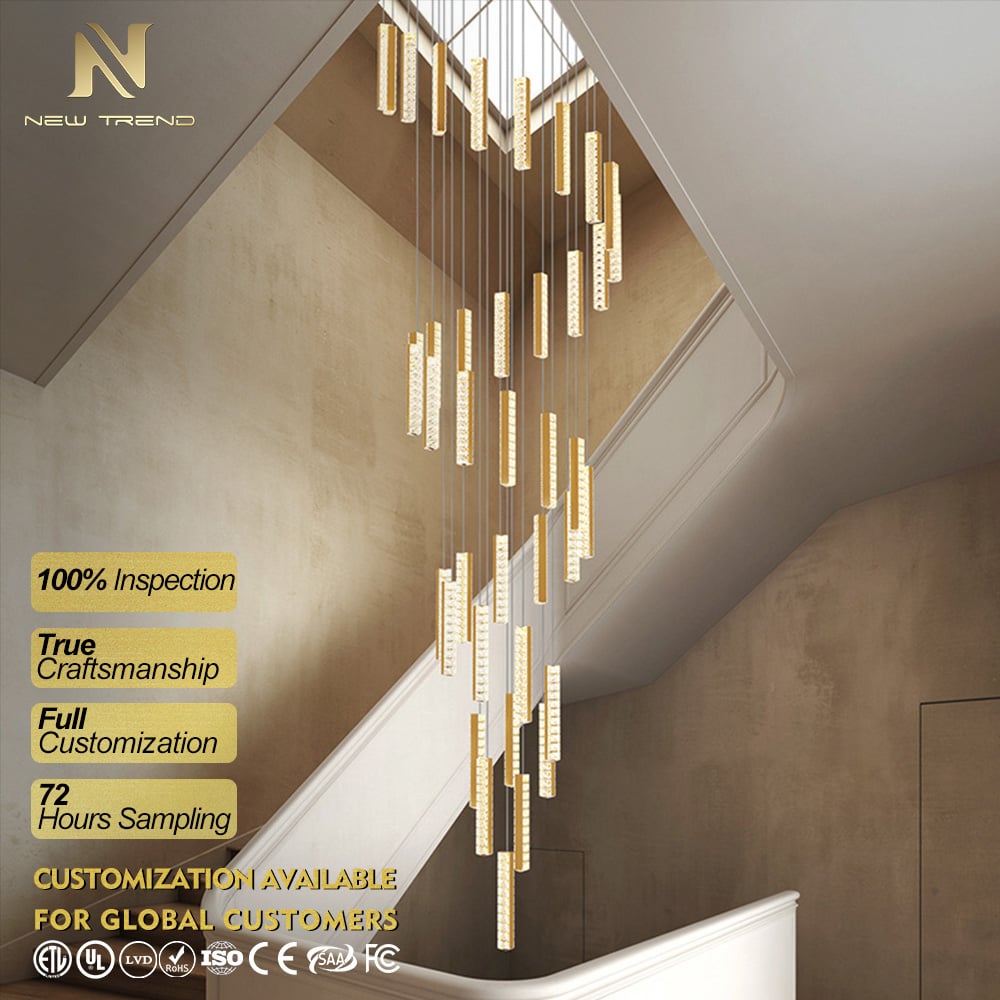
✨1. Жарықтандырғыштың диаметрі мен ұзындығы/ені үшін тәжірибелік реттеу ережелері
Басқыштағы жарықтандырғыштың горизонталь өлшемі басқыш аймағындағы жүруге болатын аумақтың кеңдігін анықтайды. Әртүрлі пішіндегі жарықтандырғыштар үшін қауіпсіздікке қатысты нақты арақашықтық талаптары әртүрлі болады, сондықтан мен ең көп таралған дизайнерлік шешімдерді үш жеңіл қабылданатын сценарийге бөлдім:
✨1.1 Түзу цилиндрлі басқыш жарықтандырғыштары
Түзу цилиндрлі ілінбес жарықтандырғыштар қазіргі заманғы да, дәстүрлі де басқыш аймақтары үшін ең көп таңдалатын нұсқа болып табылады және оларға қатаң қауіпсіздік аралығы қажет.
Ереже: Цилиндрлі жарықтандырғышыңыздың ең сыртқы шеті 60–70 см немесе одан да алыс баспалдақтың қолдың тірелетін жерінен.
Неліктен жұмыс істейді: Бұл аралық күнделікті жоғары-төмен қозғалыс кезінде қолдар мен денелерді құрылғыдан ажыратып тұрады және стандартты өлшемдегі баспалдақтар үшін ең сенімді өлшемдік стандарт болып табылады.
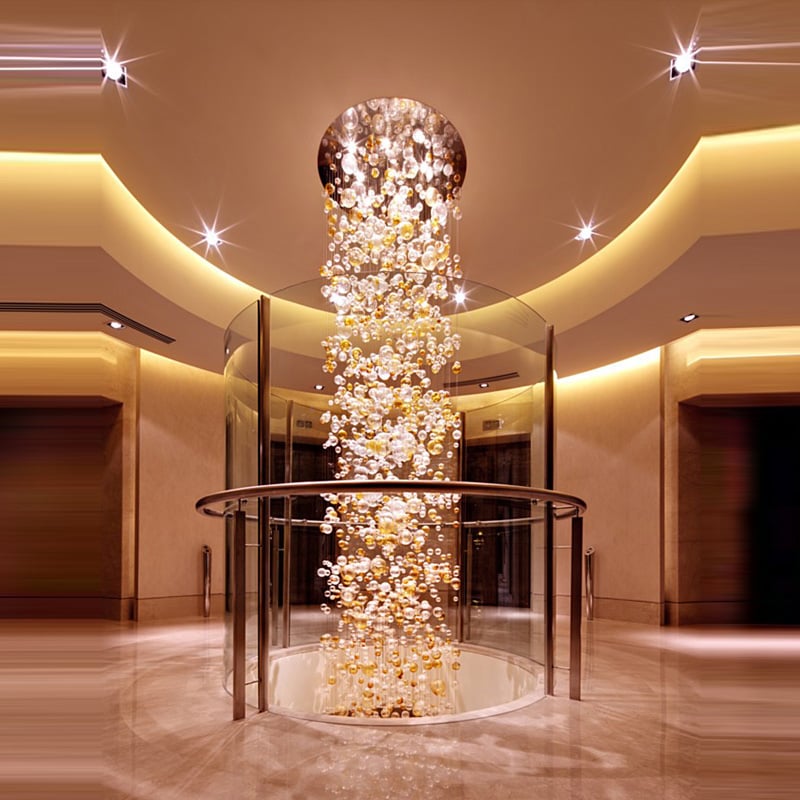
✨1.2 Морожное пішіндегі баспалдақ шамдары
Морожное пішіндегі баспалдақ шамдарының әдемі, еңісті, ағысты пішіні бар, ал олардың ерекше пішіні оларға қосымша өлшемдік икемділік береді.
Ереже: Сіз аралықты қауіпсіз түрде тарылтып, құрылғының ең сыртқы нүктесі мен қолдың тірелетін жері арасында минимум 40–50 см қашықтықты ұстауыңызға болады.
Неліктен жұмыс істейді: Олардың еңісті профилі арқасында олар кеңірек аяқталғанына қарамастан, кеңістікті толтырмайды және соқтығысу қаупін туғырмайды. Бұл минимализм мен заманауи әсемдік үйлері үшін идеалды орта шешім.
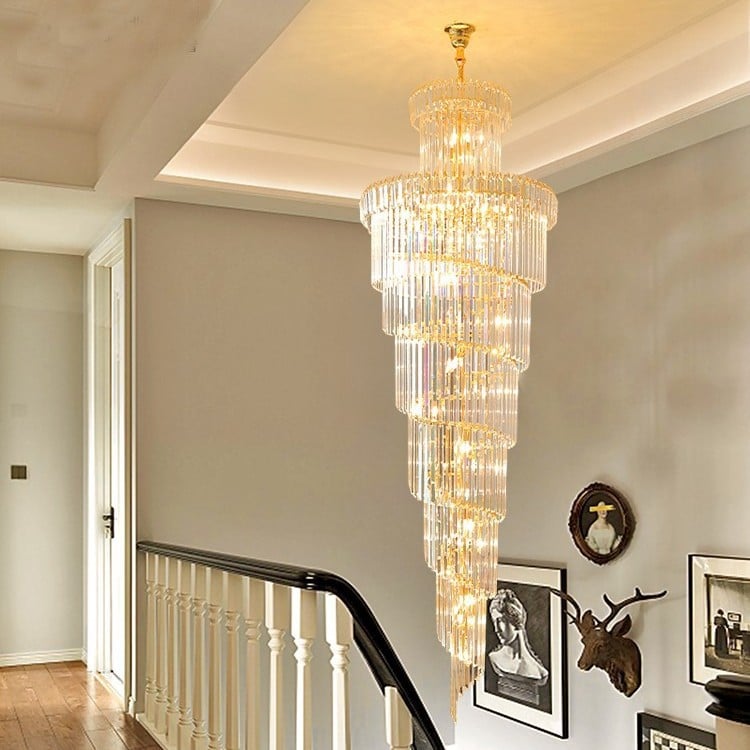
✨1.3 Қосымша ені көп баспалдақ аралығы
Егер сізде кеңістігі үлкен вилла немесе дуплекс бар болса және оның есіктің ашық тесігі өте кең болса, сізге стандартты бағыттауыштардың арақашықтығына қатаң сүйенуге керек емес. Бұл үлкен өлшемді есік ашық тесіктерінде ойнауға жеткілікті орын бар!
Ереже: Сіздің жарықтандырғыштың соңғы диаметрі мен енін тавандағы жарық ойысының нақты өлшеміне негіздей отырып, жоғарыда келтірілген жалпы өлшемдеу принциптеріне сүйеніңіз.
Неліктен жұмыс істейді: Бұл сіздің тапсырыс бойынша жасалған жарықтандырғыштың таваныңыздағы жоспармен үйлесімді болуын және кең есік ашық тесігінің ашық, желдетілетін әсерін қолдайтын болуын қамтамасыз етеді.
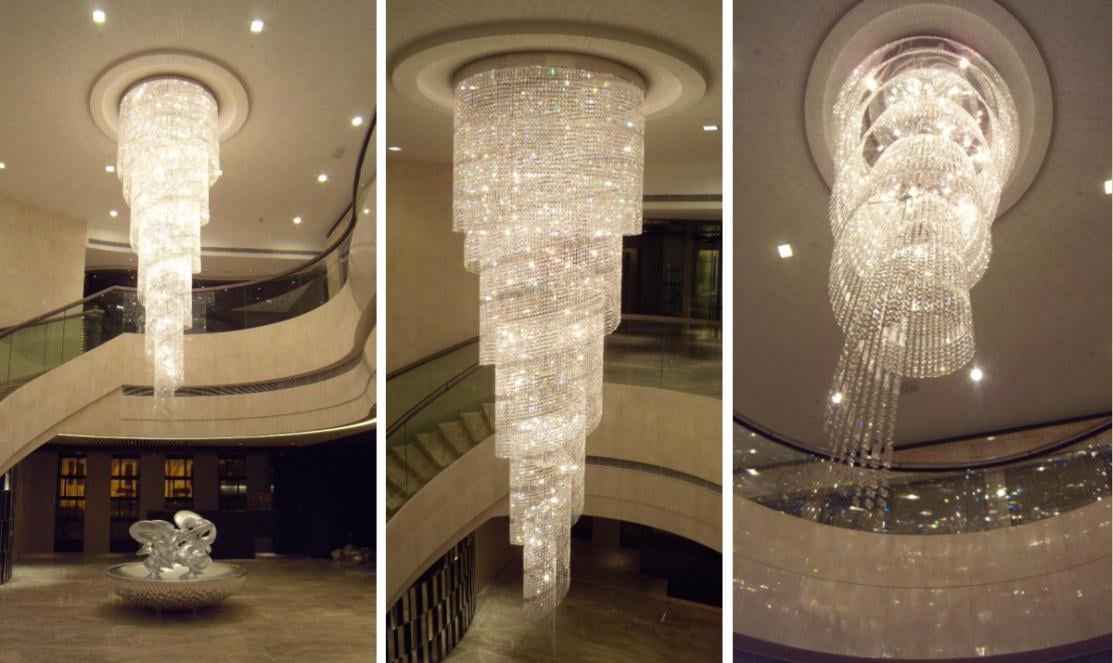
✨2. Жарықтандырғышты ілу биіктігін реттеу ережелері
Келесі: ілу биіктігі! Бұл параметр сіздің жарықтандырғышыңыздың қамту аймағын және есік ашық тесігіндегі жалпы қауіпсіздікті бақылайды. Мен биіктік ережелерін екі нақты жағдайға бөлдім, олар шамамен әрбір үйдің есік ашық тесігінің жоспарын қамтиды:
✨2.1 Жарықтандырғыштың төменгі жағында декорациялар немесе үлкен безендіру элементтері болған кезде
Көптеген адамдар есік ашық тесіктерін декоративті элементтермен безендіреді — мысалы, басымында өзіндік стильі бар суреттер, биік ішкі өсімдіктер немесе ілінген жарықтандырғыштың астындағы тапсырыс бойынша жасалған ландшафттық акценттер.
Ереже: Вертикаль аралықты сақтаңыз 1500 мм-ден 2000 мм-ге дейін (1,5 м - 2 м) сіздің жарық құрылғысыңыздың төменгі бөлігі мен декорыңыздың жоғарғы бөлігі арасында.
Неліктен жұмыс істейді: Бұл кеңістіктің кеңдігі әдемі кеңістіктік тереңдік құрады, жарықтың шаңырақтың ішінде қысылған немесе декорыңыздың үстінен ауыртпалық тудырған сияқты сезілуін болдырмайды және стильдік бағдарламаланған ступенькаңызға тең, жұмсак жарық береді.
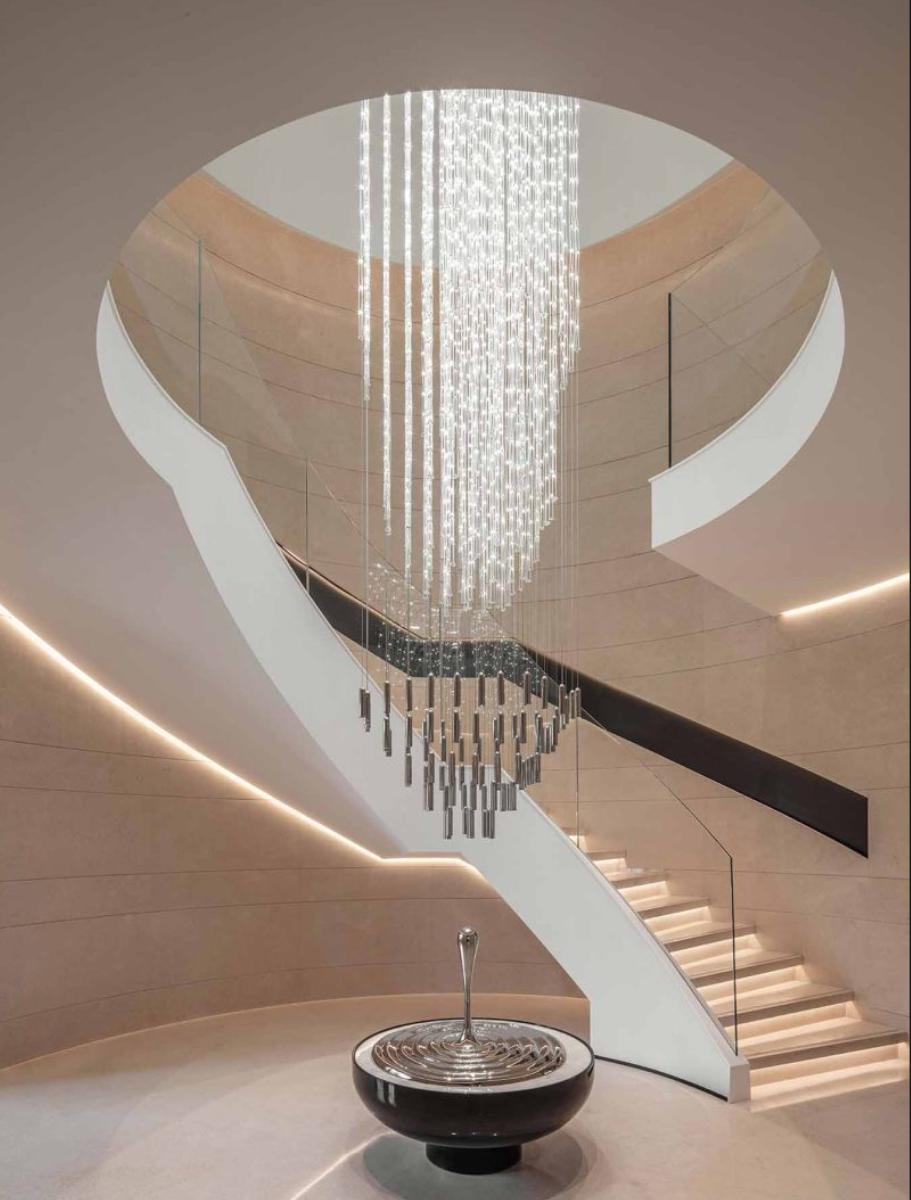
✨2.2 Жарықтың астындағы бос және өтетін кеңістік
Толығымен ашық, кедергісіз ступенькалар үшін (тек қана функционалды, көп трафикті жүру жолдары), қауіпсіздік — бұл жерде жалғыз приоритет.
Ереже: Ступенька жарығыңыздың ең төменгі нүктесін орнатыңыз: екінші қабаттың еден деңгейінен шамамен 1 метр төмен.
Неліктен жұмыс істейді: Бұл орналастыру сіздің отбасыңыздағы биік адамдар немесе қонақтар жарық құрылғысына соғылып кетпеуін қамтамасыз етеді, сонымен қатар жарық сіздің барлық ступенькаларыңызға жетіп, қараңғы дақтар қалмайтындай етеді.
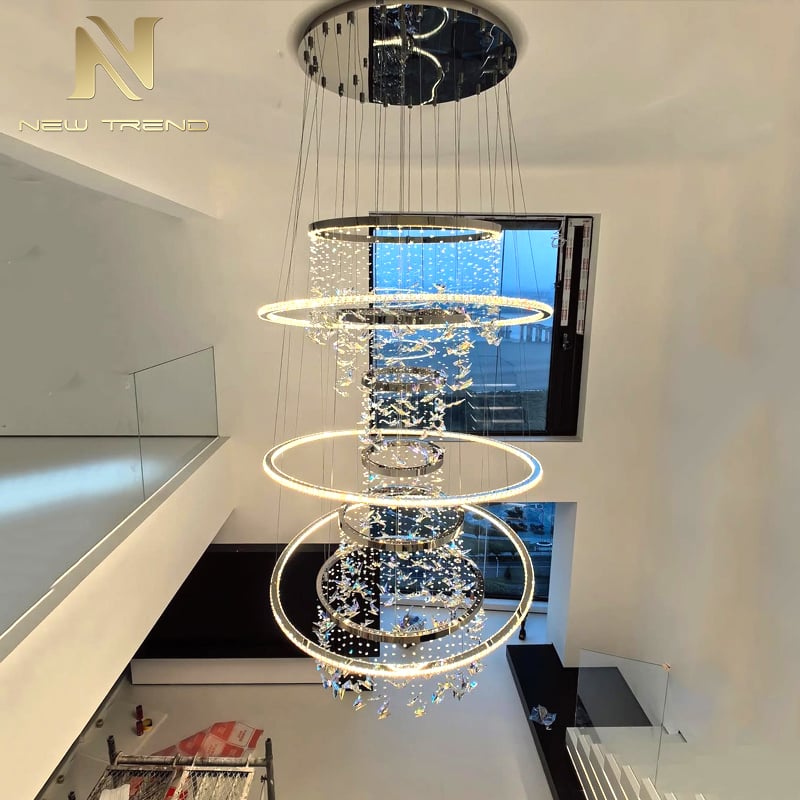
✨ Соңғы дизайн кеңестері
Соңында, ступенька жарығын индивидуалды түрде реттеу — бәрі де ақылды тепе-теңдік .
Қадам алаңыңызды толтыратын модалы, өлшемі үлкен жарықтандыру құрылғысы үшін қауіпсіздікті ешқашан құрбан етпеңіз немесе қауіпсіздікке қол жеткізу үшін кішкентай, әлсіз жарыққа шектеліңіз. Әрқашан қолданбас бұрын, соқтығысу болмаған қауіпсіздік негізінен , содан кейін құрылғы пішініңізге, басқыш еніне және жеке дизайнерлік эстетикаңызға сай өлшемдерді реттеңіз.
Осы қарапайым, кәсіби өлшемдеу принциптеріне бағыныңыз, сонда сіз қауіпсіз, қызмет етуге ыңғайлы және өте стильді басқыштардың жарықтандыру орнатуын жасай аласыз — үйіңіздің вертикальдық дизайнын көтеруге идеалды!